One of the most important factors in whether people open your mail or not is the sender's name. The sender's name is what gets displayed in the "from field" of the user's email client.
Step 1 - Choose a recognisable sender name
Often that will be the company name, or perhaps the name of a specific challenge or campaign that you are running on your Nosco Platform.
Step 2 - Change the sender name on the Nosco platform
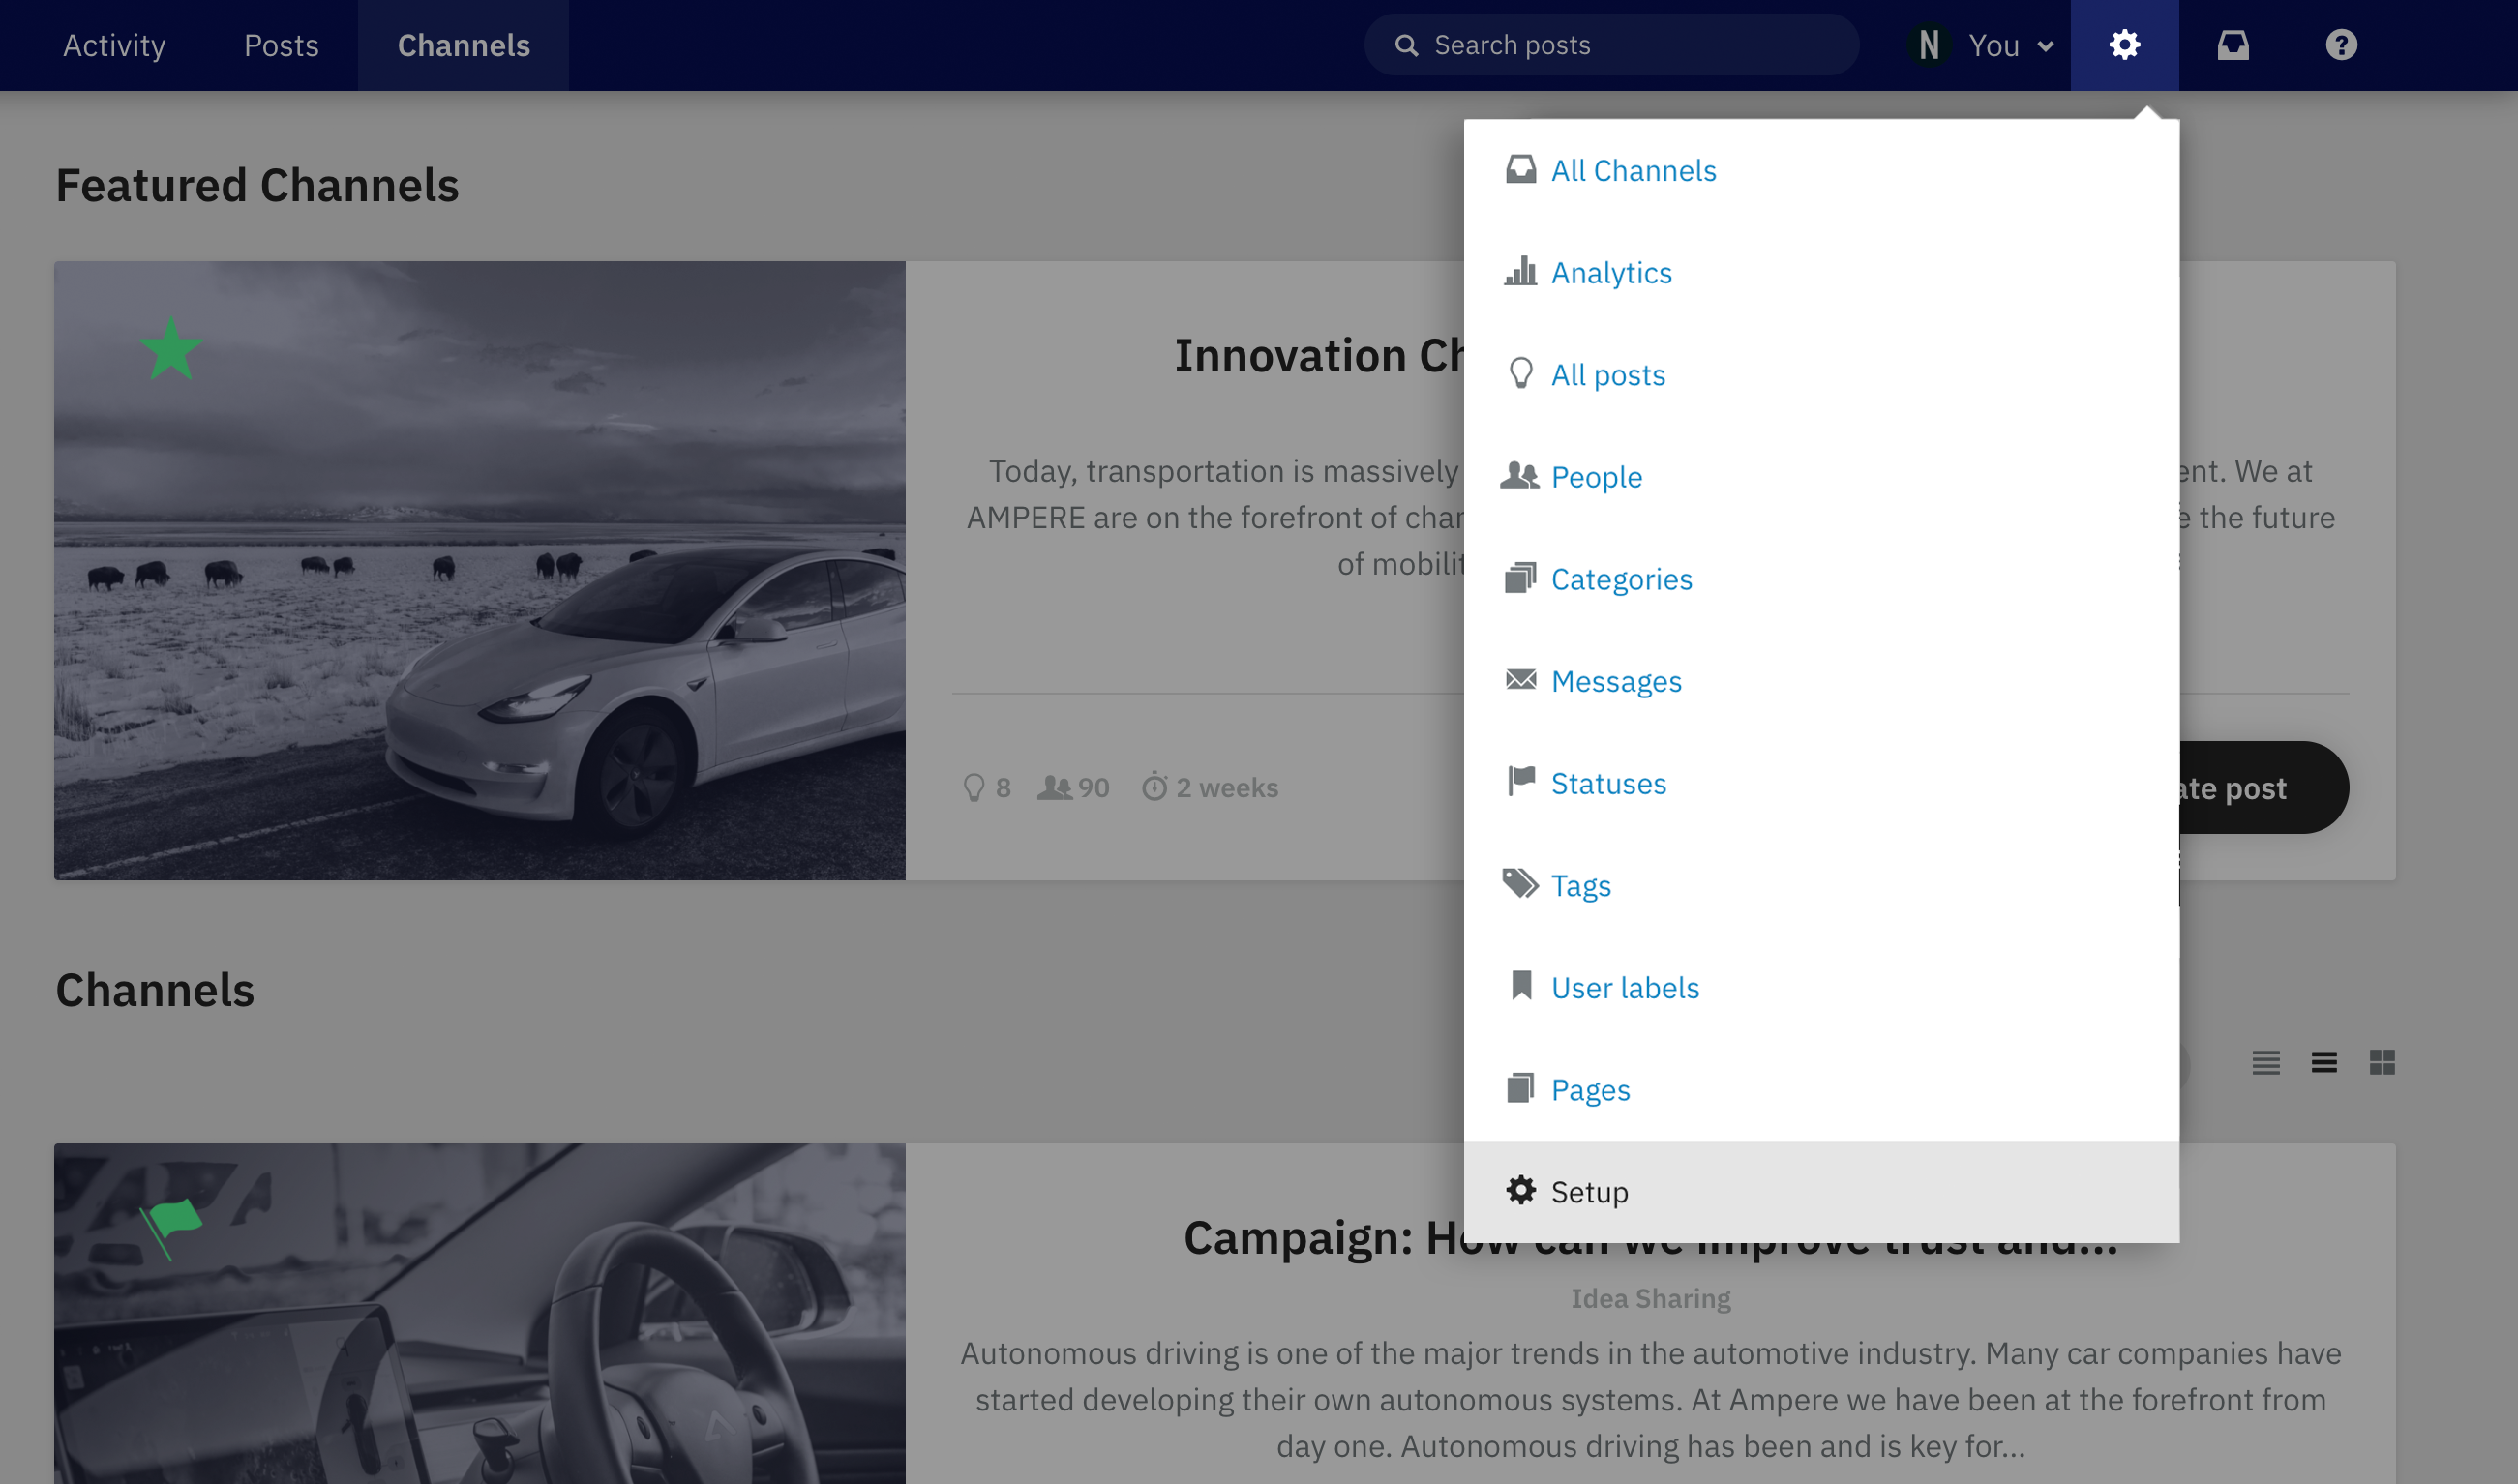
Click on the cogwheel in the upper right corner and then on Setup in the drop-down menu.

Make sure that General is selected. Then type your preferred sender name under Email Sender Name and click Save at the bottom of the page to save your changes.
Step 3 - Send a test email
Send a test email from the platform to check if everything is correctly setup.
Note: Some webmail clients cut off "From" names. For example, Gmail cuts off addresses and names at around 20 characters.
Want to send from a specific email address?
Nosco can also help you to send emails from your platform using a specific email address. Get in touch with Customer Success on support@nos.co and we will be happy to assist you.
We hope this article has been useful for you.
If you need more help, feel free to reach us: