This article will help you
- Create user labels
- Attach user labels manually
- Attach and update user labels from Excel
- Edit existing user labels
-----------------------------------
User labels allow you to group and manage people in e.g. country, departments, functions, etc. They help you to easily identify specific groups and efficiently invite them to channels as well as send targeted messages. Identify where in the organisation your ideas come from.
Create a user label
1. Click on Admin and then on User labels in the drop-down menu.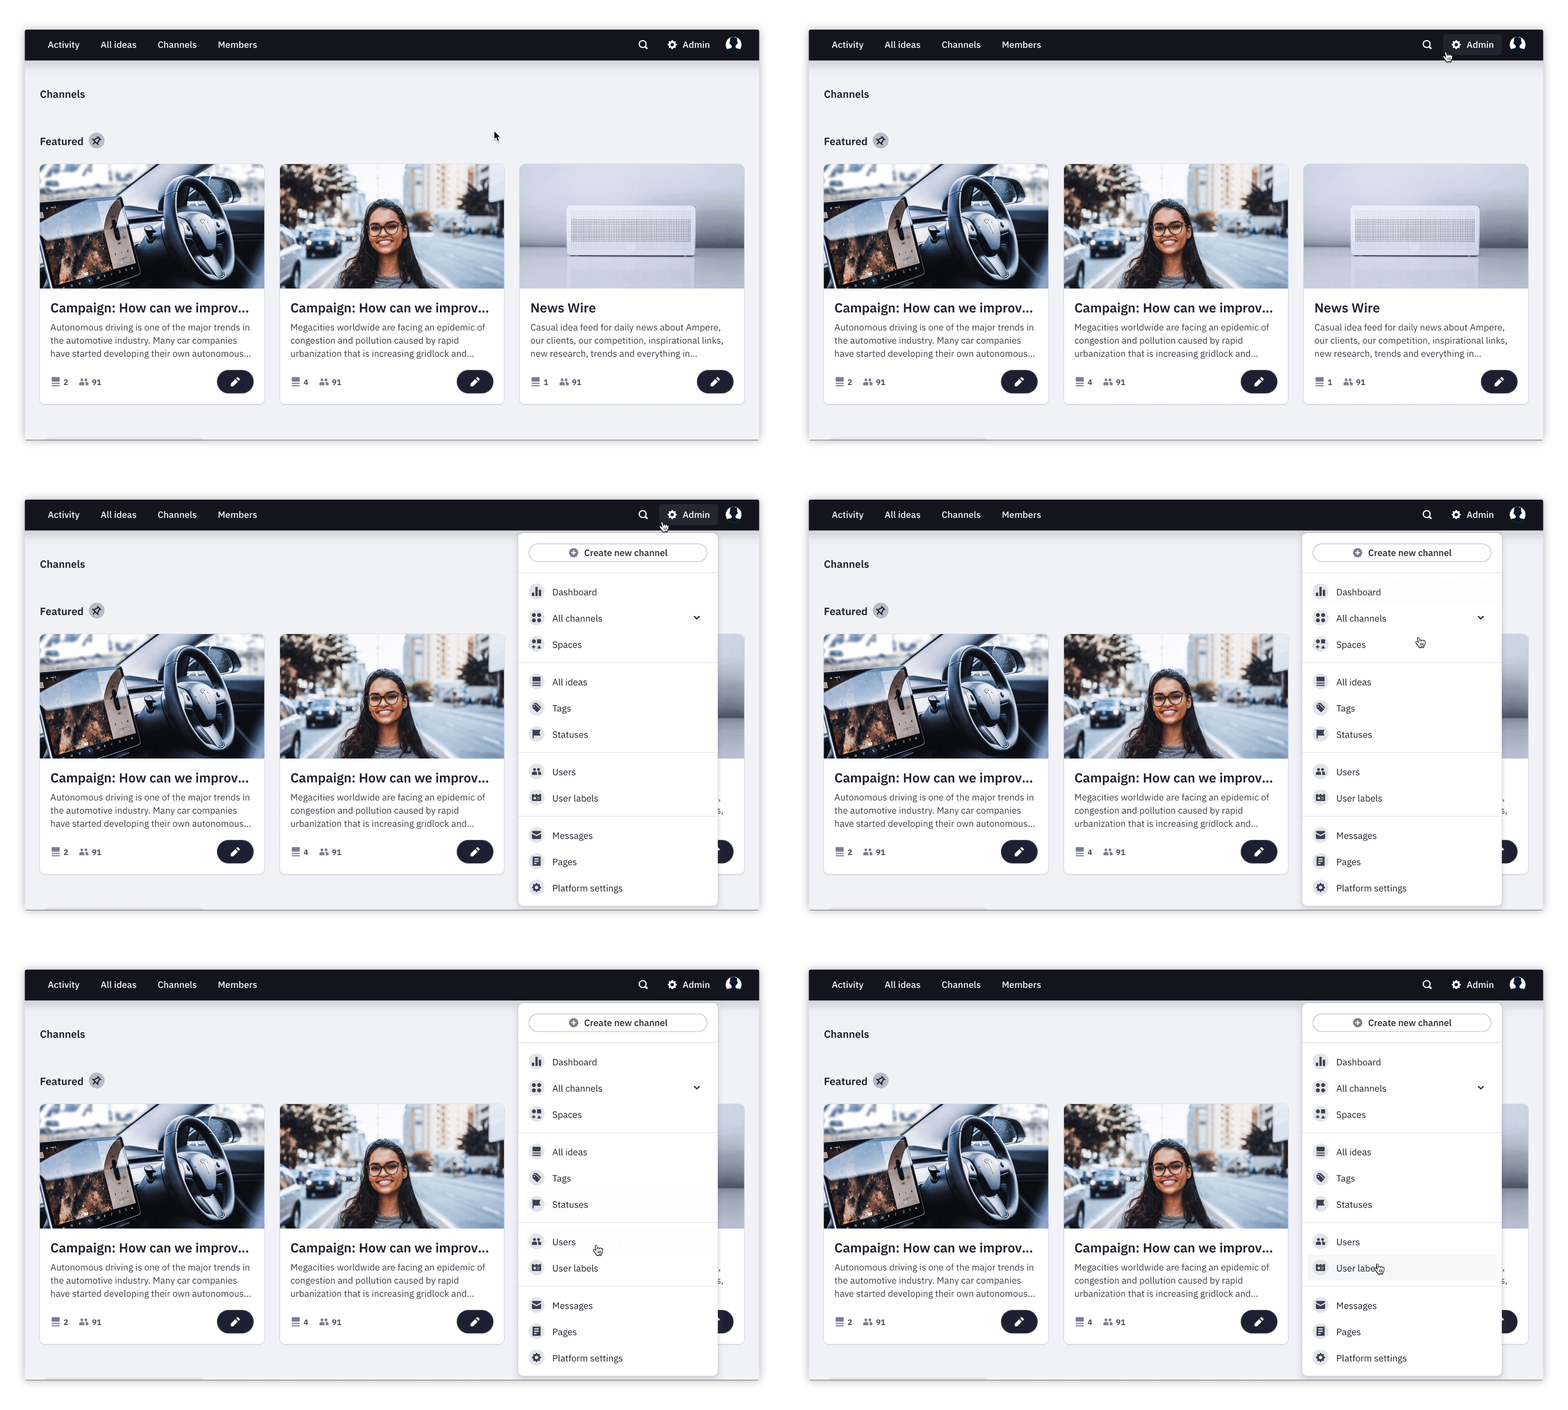
2. Click on Create user label.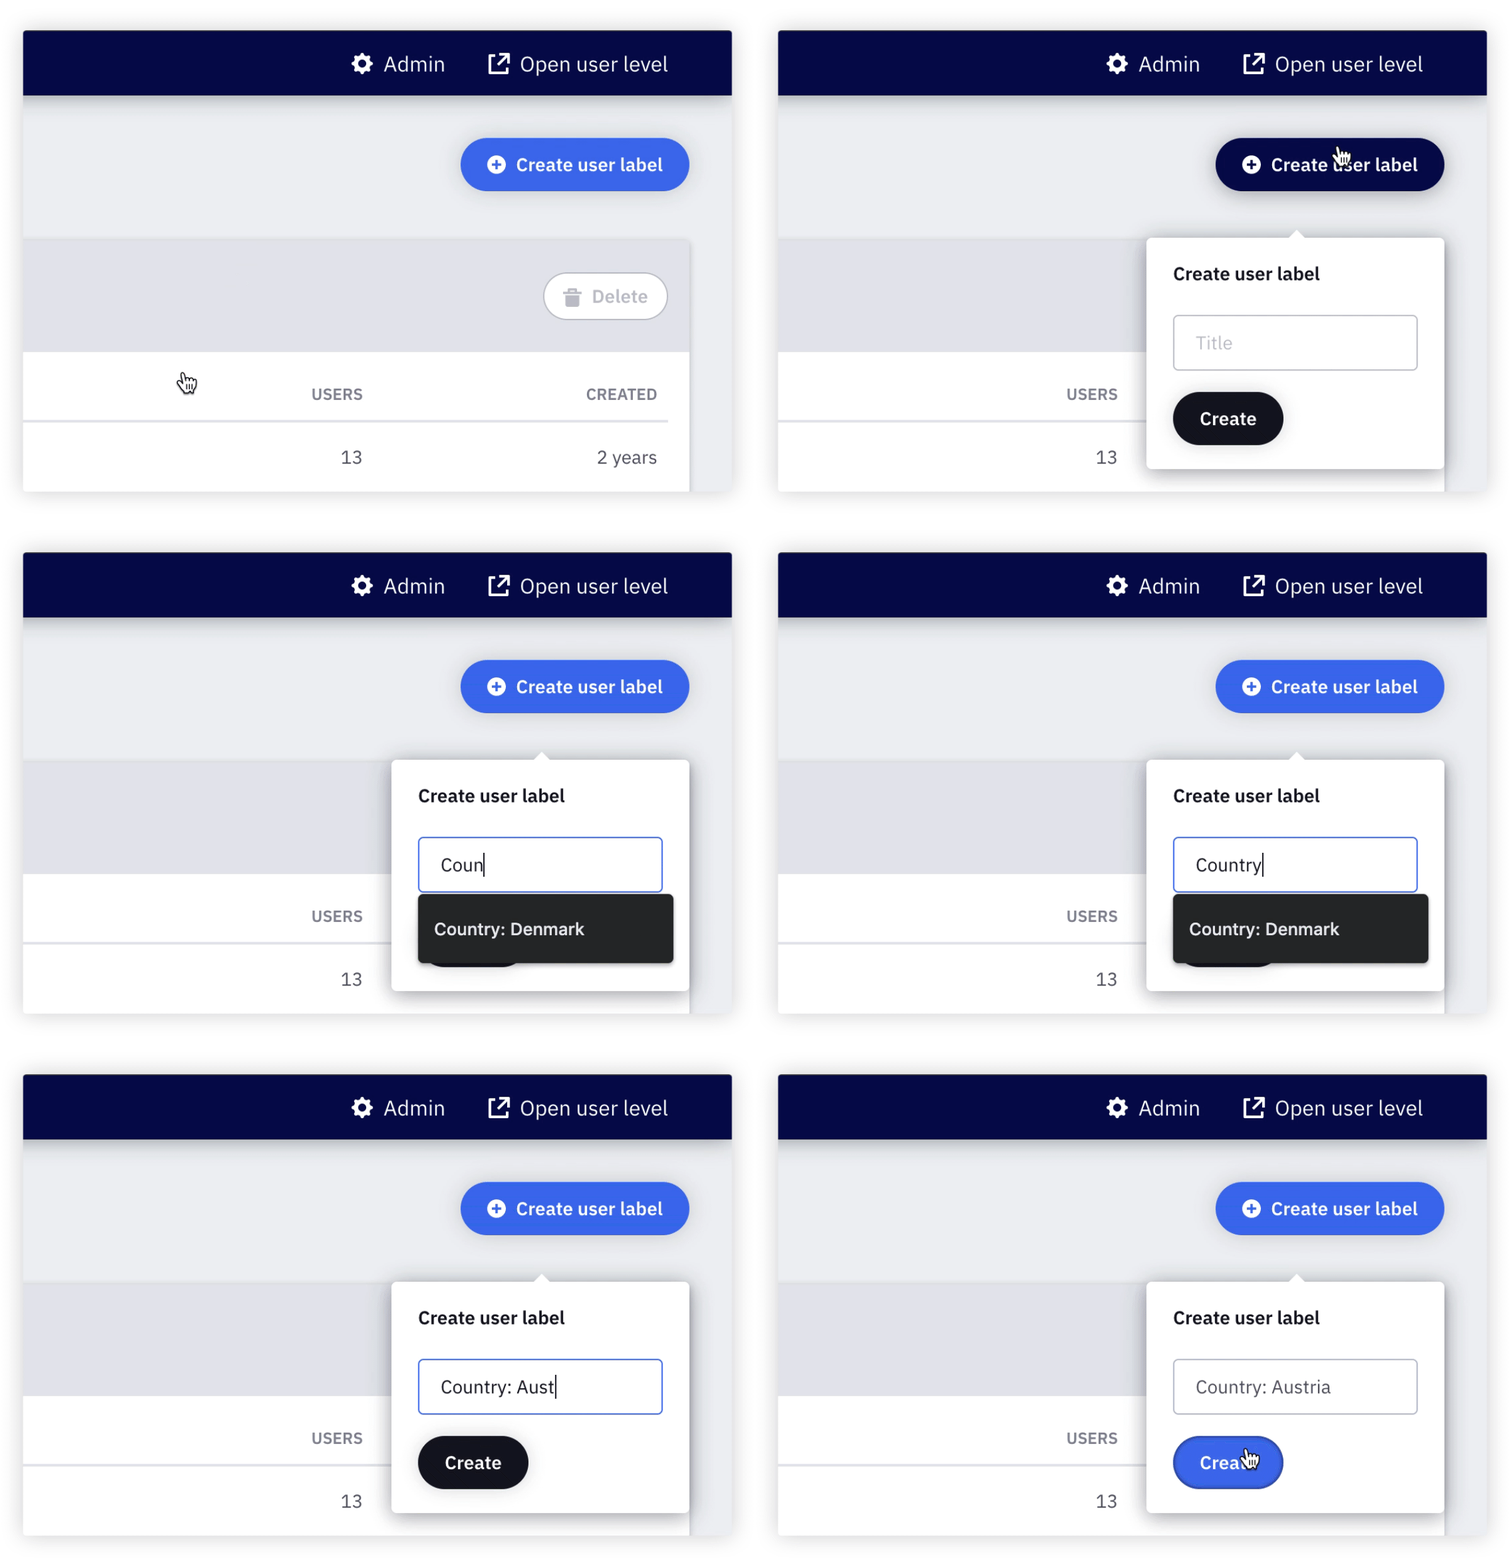
Attach user labels manually
We recommend attaching user labels manually if you only want to attach them to a small number of ideas.
1. Click on Admin and then on Users in the drop-down menu.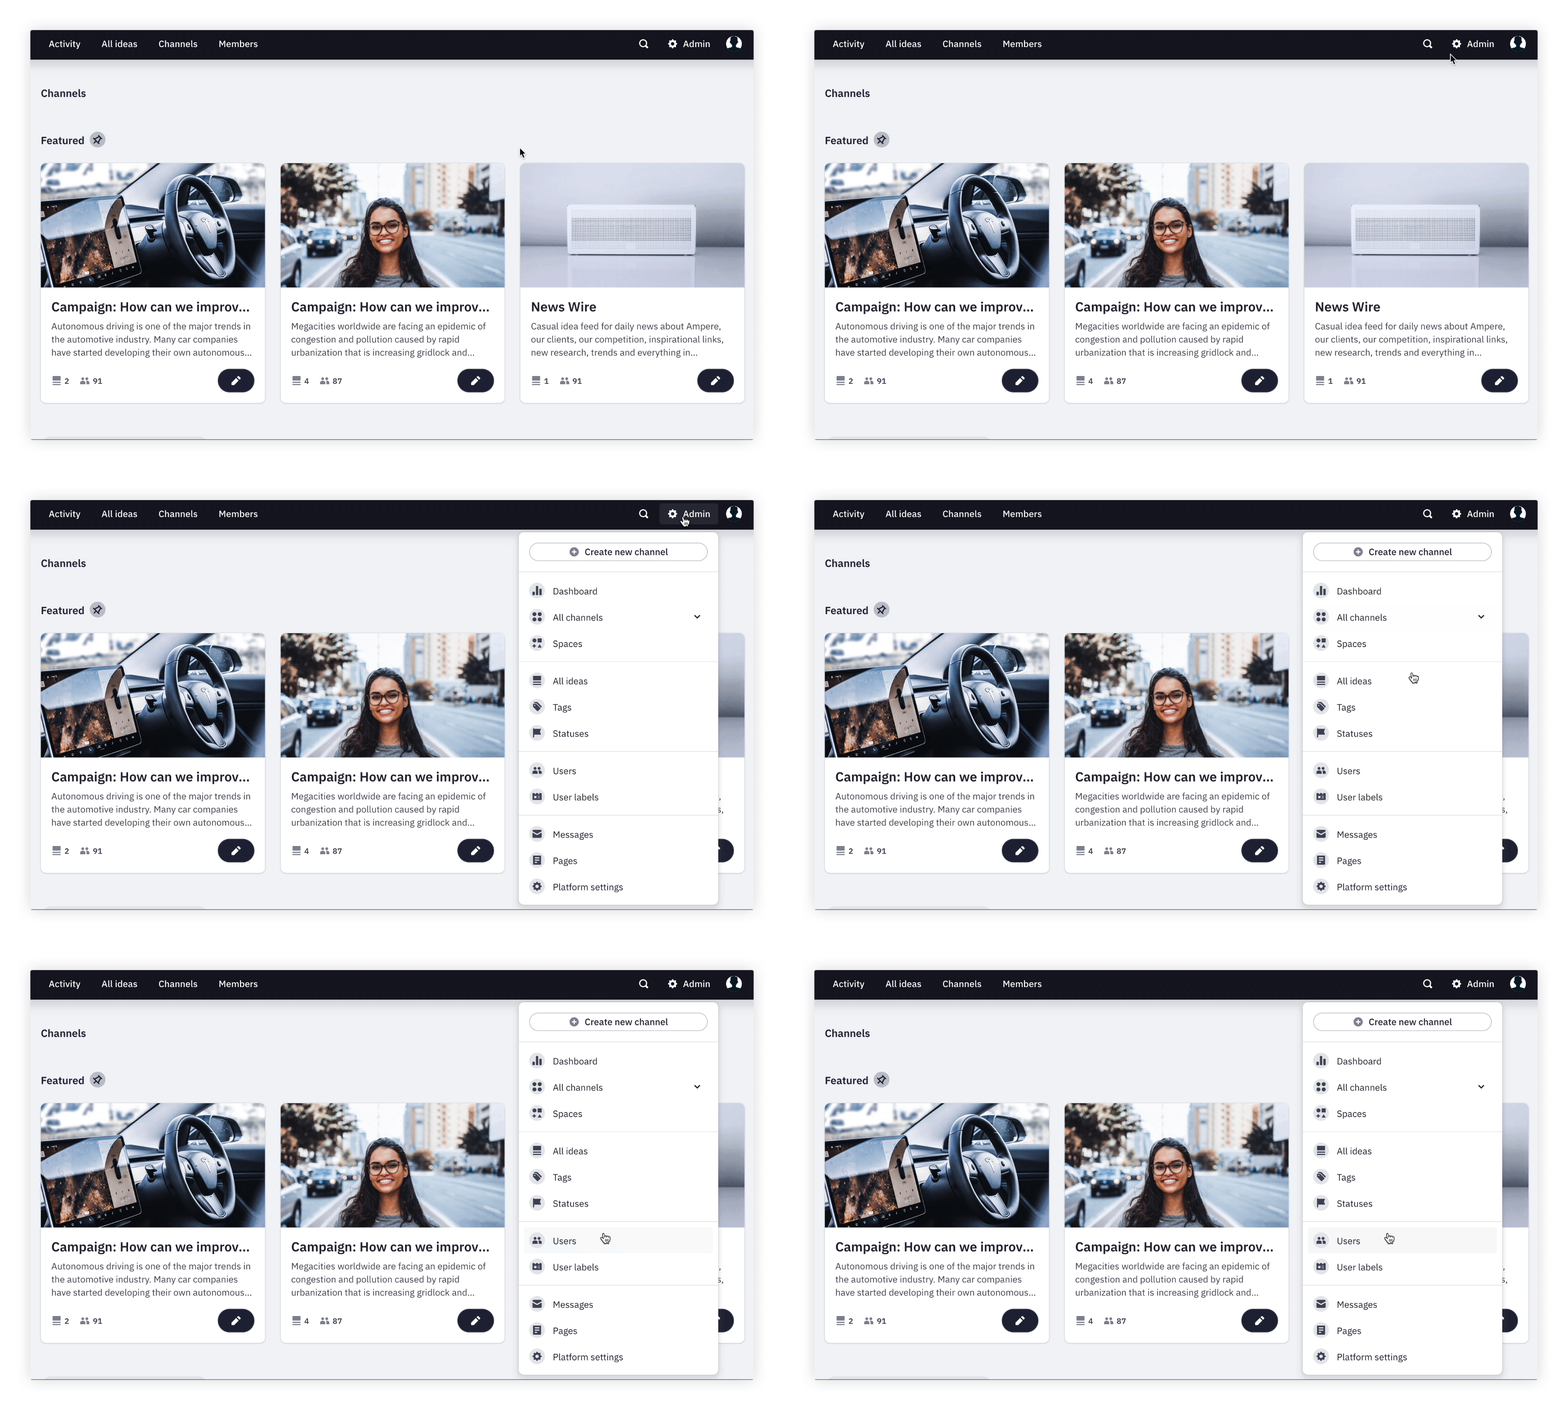
2. Select the users to which you want to attach user labels. Then click on User labels and select the labels you want to add from the list. 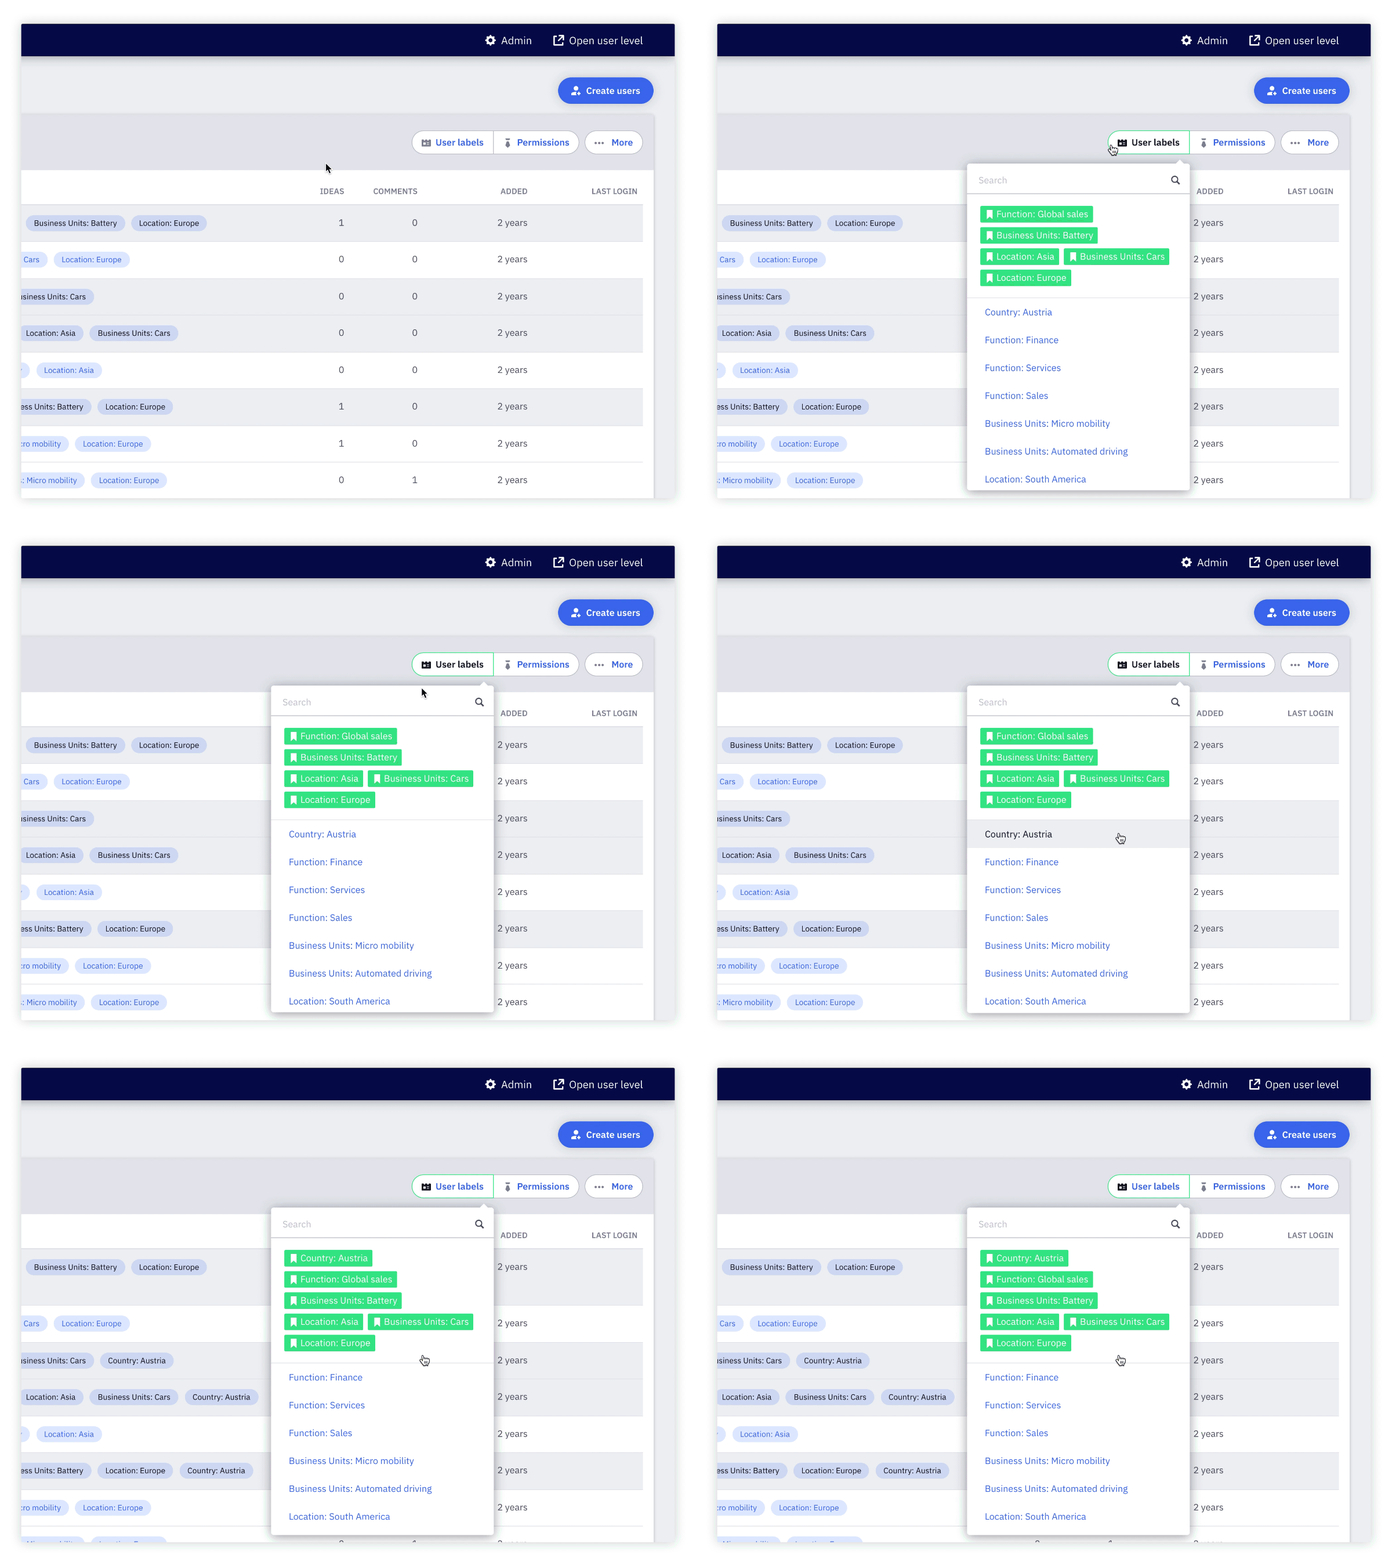
Attach and update user labels from Excel
We recommend attaching user labels from Excel if you want to attach them to a large number of users.
1. Prepare an Excel spreadsheet including the user's email as well as the user labels and make sure that each user label is in a separate column. 
2. Click on Admin in the upper right corner and then on Users in the drop-down menu.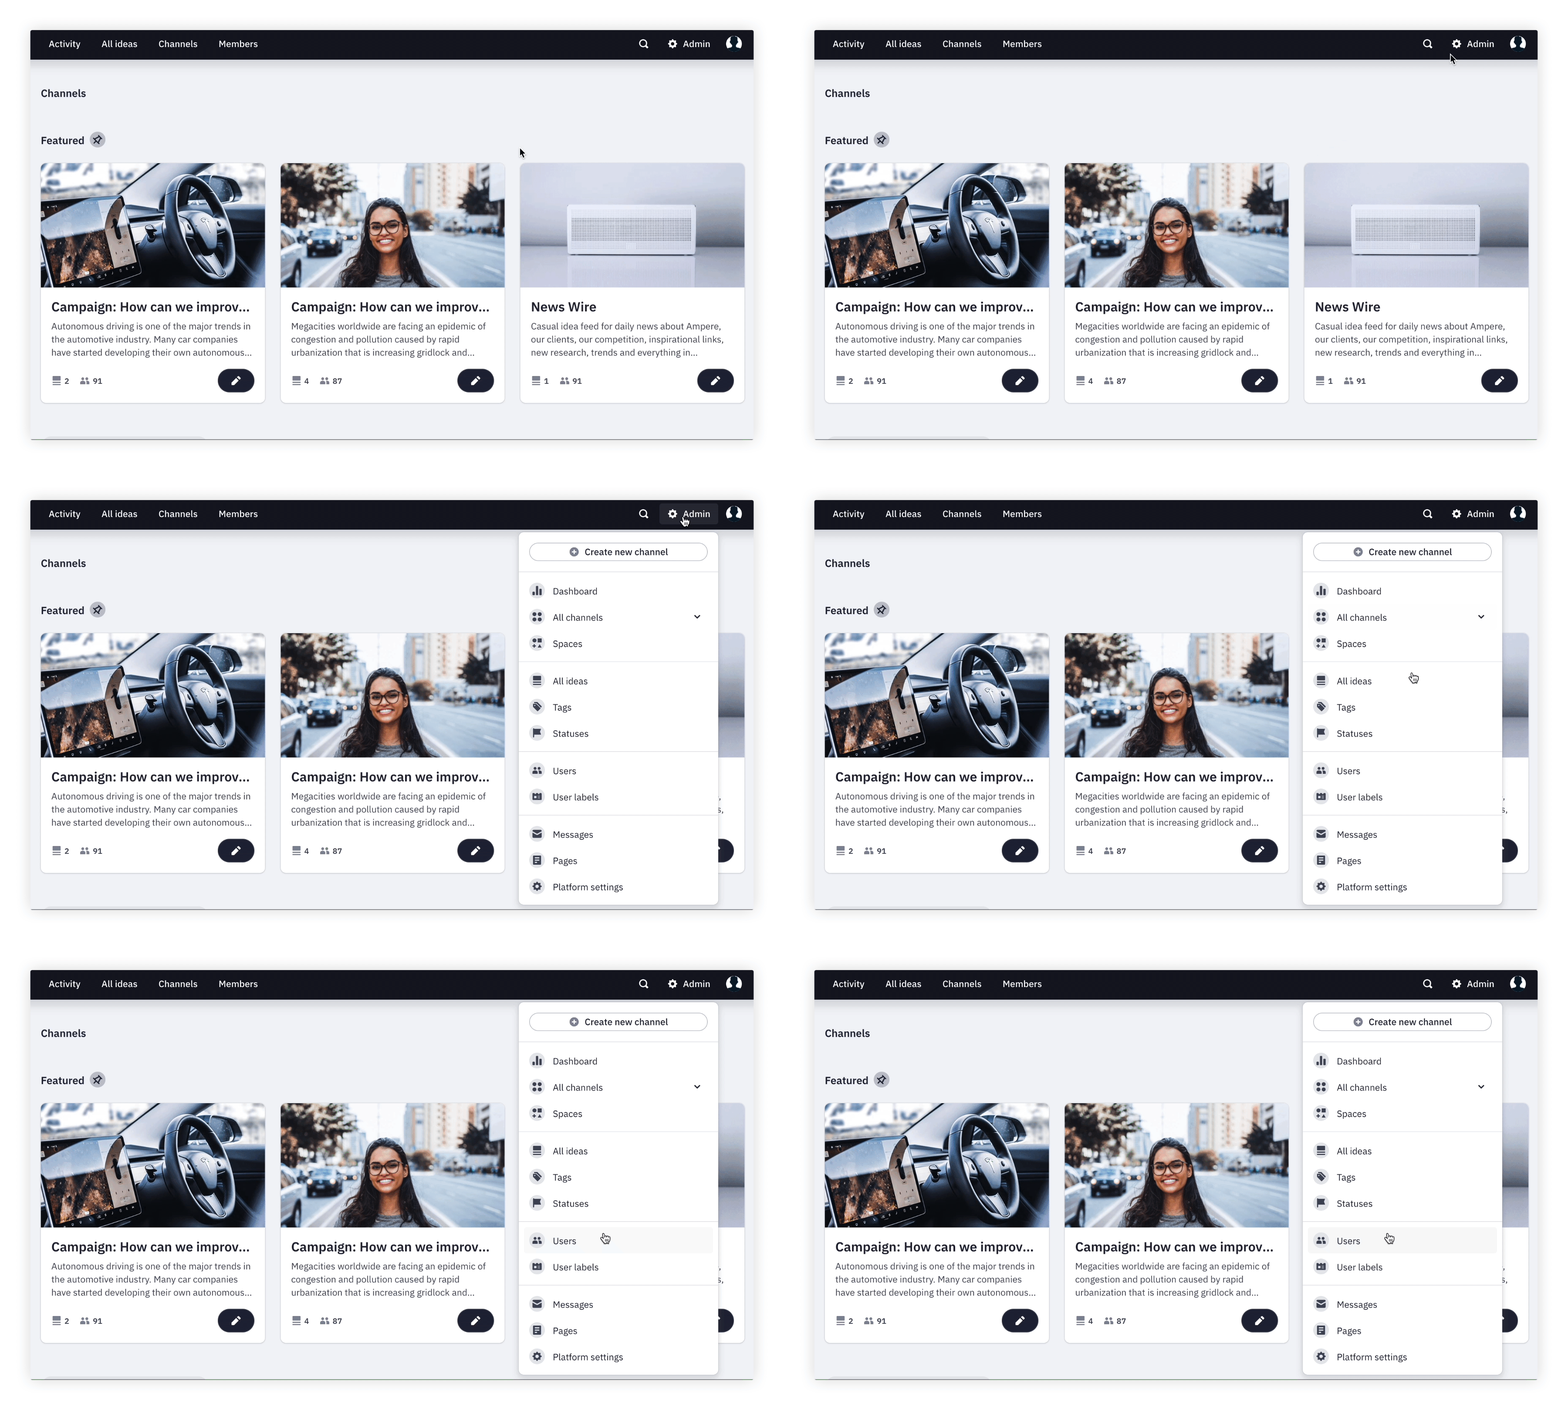
3. Click on Create Users and then Add Labels from Excel. Drag and drop your Excel file in the dedicated area.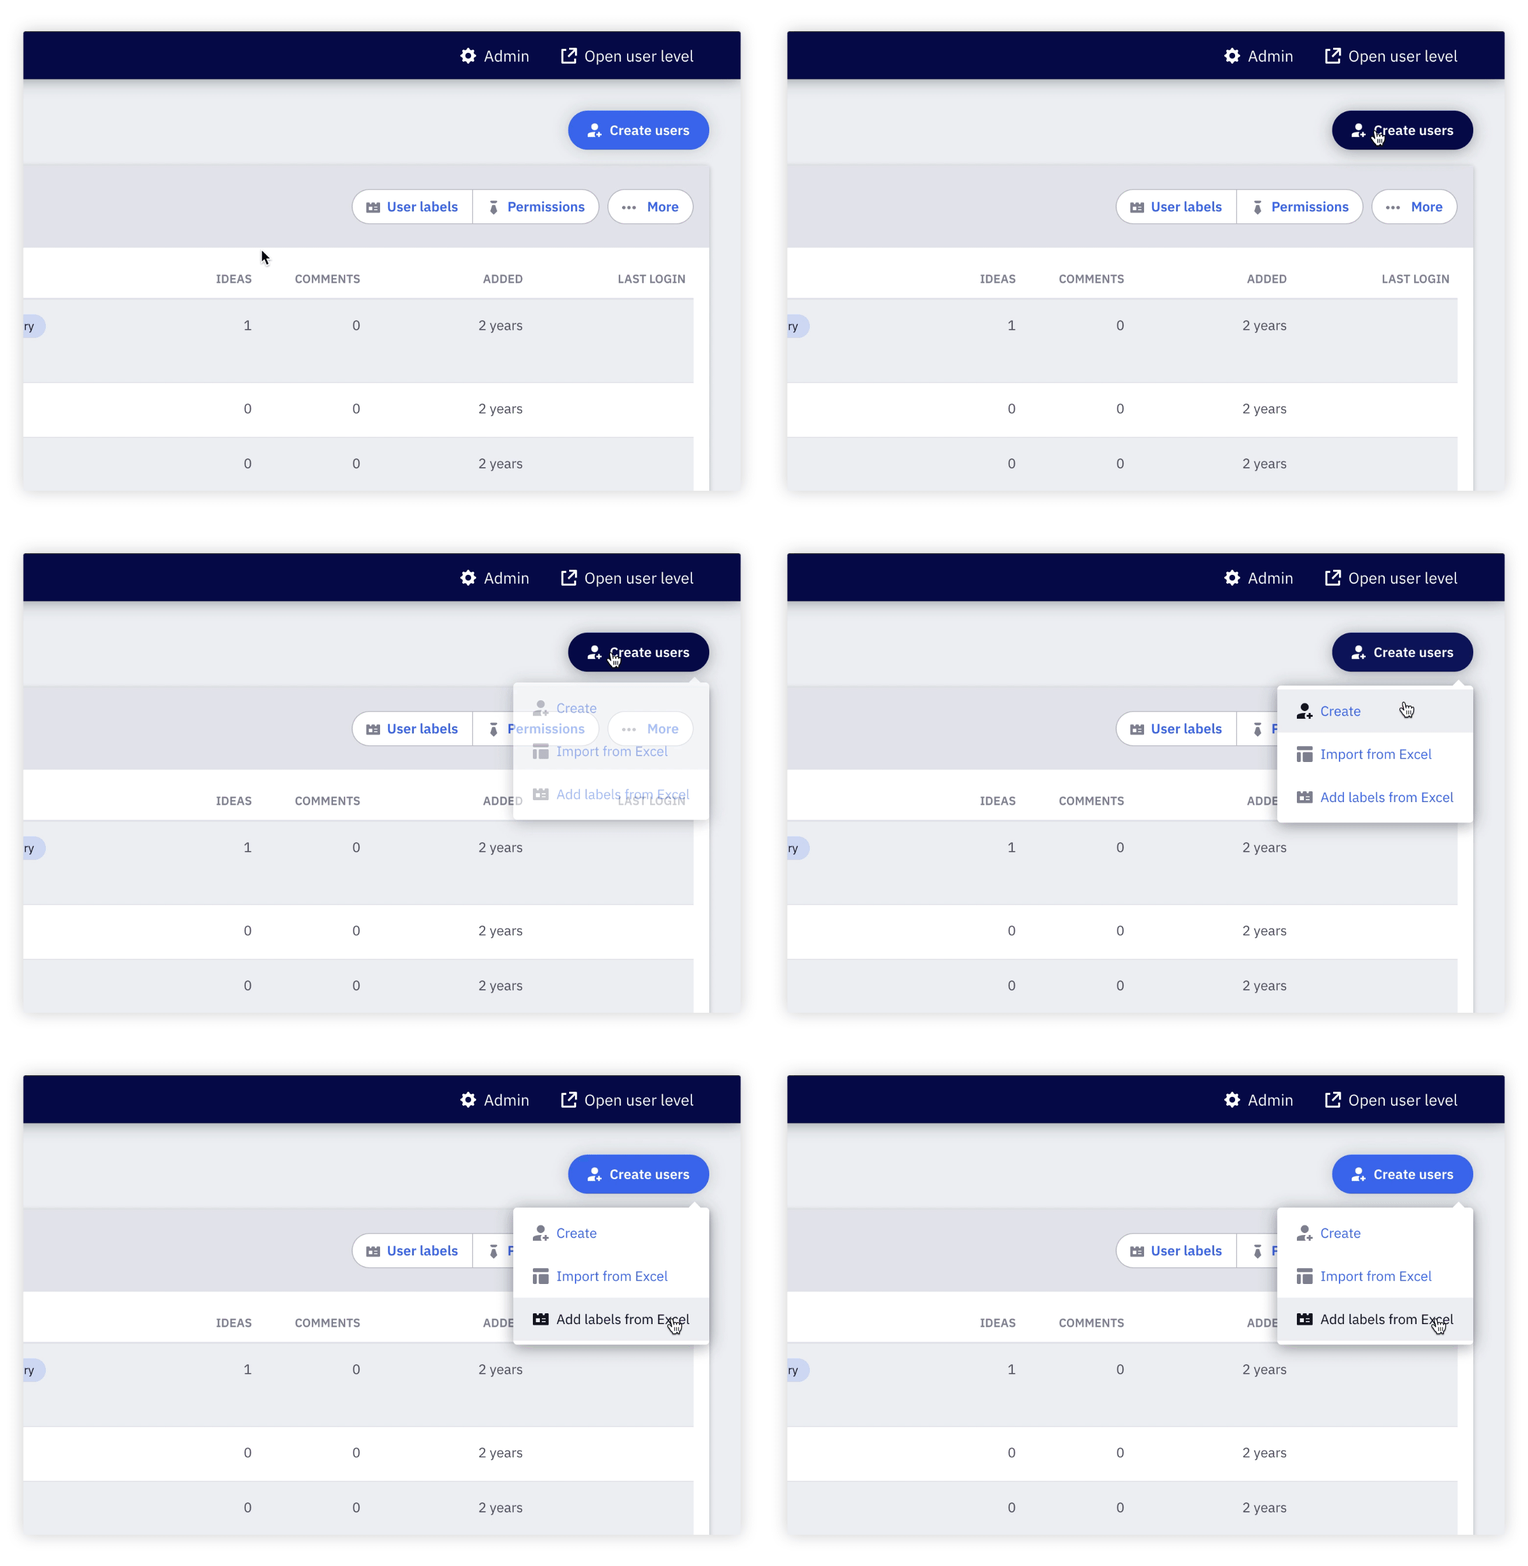
4. Match the headers with the columns. When you are done, click on Next and have a look at the report. If everything is fine click Update.
Edit existing user labels
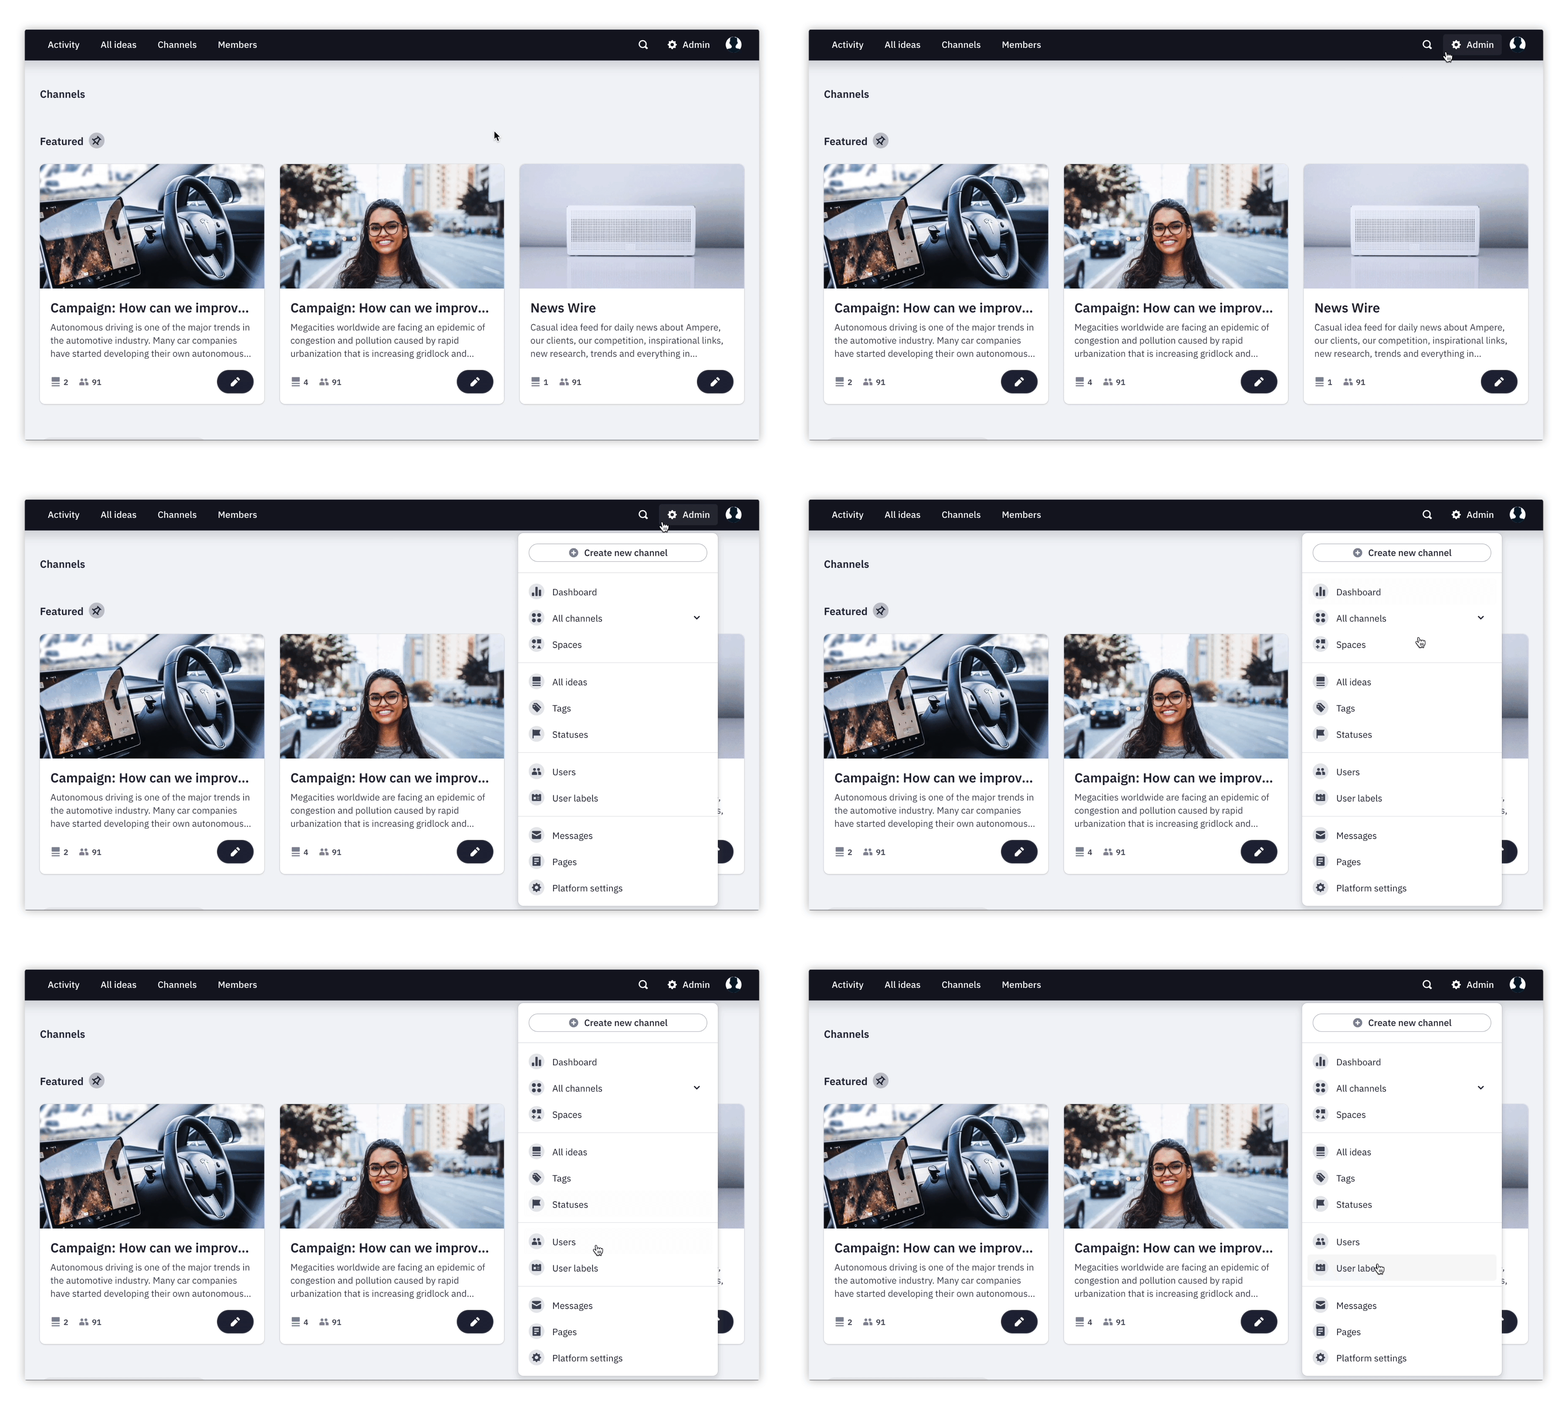
1. Click on Admin in the upper right corner and then on User labels in the drop-down menu.
We hope this article has been useful for you.
If you need more help, feel free to reach us: